QA Sniper

Smart Screenshot Management Tool

Stop wasting time managing screenshots across multiple files. QA Sniper automatically captures, organizes, and generates HTML galleries for efficient test documentation.

Why QA Sniper?

Solves Real Problems

Manual test execution requires tracking screenshots across Excel files and Word documents. QA Sniper centralizes all screenshots in one organized location with automatic indexing.

One-Click Operation

Designed for speed and efficiency. A single click captures screenshots, saves them, copies paths to clipboard, and generates an HTML gallery - all automatically.

Key Features

Automatic Screenshot Capture

Captures the current screen with a single click and saves it to your configured directory instantly.

Clipboard Integration

Automatically copies screenshot path to clipboard for instant pasting into Excel or test documentation.

Smart Organization

Saves all screenshots to user-defined directories with structured organization for easy reference.

HTML Gallery Generation

Automatically creates an interactive HTML file to view all screenshots in a browsable gallery format.

Optional Descriptions

Add descriptions to screenshots for better documentation. Toggle description prompt as needed for your workflow.

Easy Configuration

Simple setup wizard to configure project name, tester name, directory location, and preferences on startup.

Get Started in 6 Steps

1

Download & Launch

Download the QA Sniper jar file and double-click it to start the application. The intuitive interface will greet you with a configuration wizard.

Step 1 - Launch Application
2

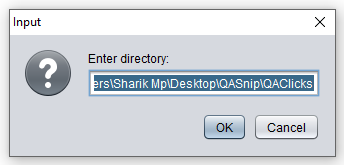
Configure Screenshot Directory

Enter a valid directory path where you want to save all your screenshots. This is where QA Sniper will organize and store captured images.
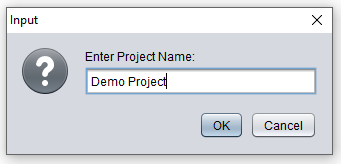
Step 2 - Configure Directory
3

Set Project Name

Enter your project name. This will be displayed in the generated HTML gallery and helps organize screenshots by project.
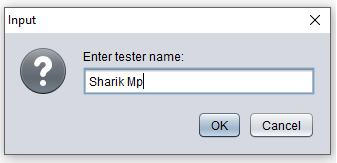
Step 3 - Project Name
4

Enter Tester Name

Provide your name as the tester. This information will also be reflected in the generated HTML gallery for tracking purposes.

Step 4 - Tester Name
5

Configure Description Option

Decide whether you want to add descriptions to screenshots. Uncheck the box if you prefer quick captures without descriptions.

Step 5 - Description Option
6

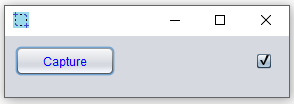
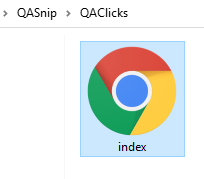
Start Capturing & View Results

Start taking screenshots during your test execution. Open the generated "index.html" file in the configured directory to view your screenshot gallery with all metadata.

Step 6 - View Gallery

Ready to Streamline Your Test Documentation?

Download QA Sniper now and experience efficient screenshot management. Perfect for manual testers who want to spend less time organizing and more time testing.